9 Essential Bilge Pump Maintenance Tips to Keep Your Boat Dry and Safe
Your boat’s bilge pump system needs to be in top shape to prevent flooding and protect your vessel. A bilge pump’s job is to remove unwanted water that collects in the lowest part of the hull (the bilge) due to rain, rough seas, or minor leaks, and that water needs to be cleared fast.
Most modern boats use automatic electric bilge pumps—often rated by gallons per hour (GPH)—with float switches or integrated sensors that trigger when water levels rise. But like any mechanical system, bilge pumps can fail without proper inspection, cleaning, and testing.
In this post, we’ll go over the specific maintenance steps to keep your pump reliable, including wiring checks, hose inspections, and troubleshooting common issues. Keep reading!
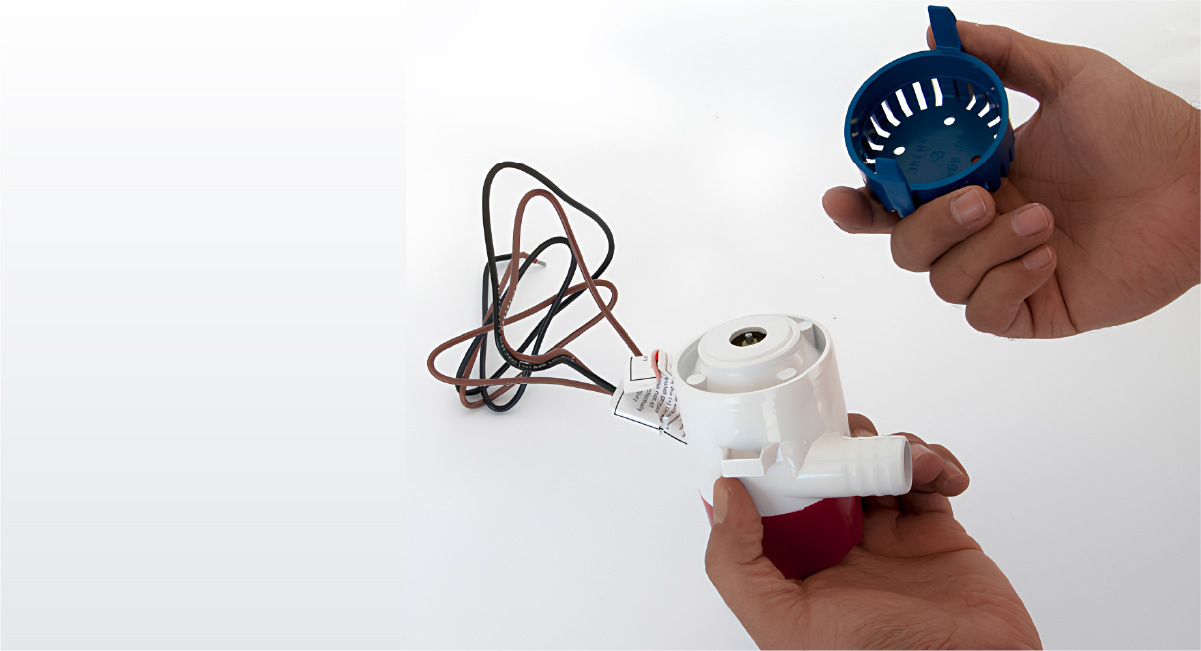
Tip 1: Understand Your Bilge Pump System
You need to know everything about your bilge pump before conducting maintenance operations. Every boat typically includes manual and automatic bilge pumps and sometimes features both manual and automatic variations. The different types of bilge pumps together maintain a dry bilge area with no water accumulation at the lowest hull point of your boat.
Here’s a quick breakdown of the main components:
- Bilge Pump Motor: Pumps the water out of the bilge.
- Float Switch: Automatically turns the pump on when water reaches a certain level.
- Discharge Hose: Routes water out of the boat.
- Strainer/Filter: Prevents debris from clogging the pump.
- Wiring & Fuses: Provide electrical power and protection.
The functional understanding of bilge pump components helps you identify emerging warning signs. The failure of your float switch, combined with a kinked discharge hose, can prevent proper pump activation, thus creating water accumulation.
Also, familiarize yourself with your boat’s manual and bilge pump specifications. Not all systems are created equal. Some boats have multiple pumps across compartments, especially larger vessels or offshore cruisers.
Having a solid grasp of your system is the first line of defense in preventative maintenance and is critical to responding swiftly in case of malfunction.
Tip 2: Regular Visual Inspections
istock/SanerG
Like any mechanical system, your bilge pump benefits from regular visual inspections. This should be part of your pre-trip and post-trip checklist. Start by removing any standing water in the bilge (if safe to do so) and take a close look at the pump and the surrounding area.
What to Watch For?
- Corrosion on wires or terminals
- Cracks or damage to the pump housing
- Loose mounting brackets
- Debris accumulation that could block the intake
- Discoloration or signs of oil in the water (indicating a leak)
Strange smells can mean trouble, think old water, fuel, or even something burning, these are not normal. If you find water sitting in the wrong spots, check your pump; it might not be working. Sometimes it’s just the float switch; it may not be where it should be.
This routine habit takes only a few minutes but can prevent costly failures. Especially in saltwater environments, visual inspections help you catch corrosion early, before it spreads.
Keep a flashlight and a mirror on a stick in your onboard toolkit to easily check tight or hidden corners of the bilge.
Explore Tips to Get the Quality Marine Parts.
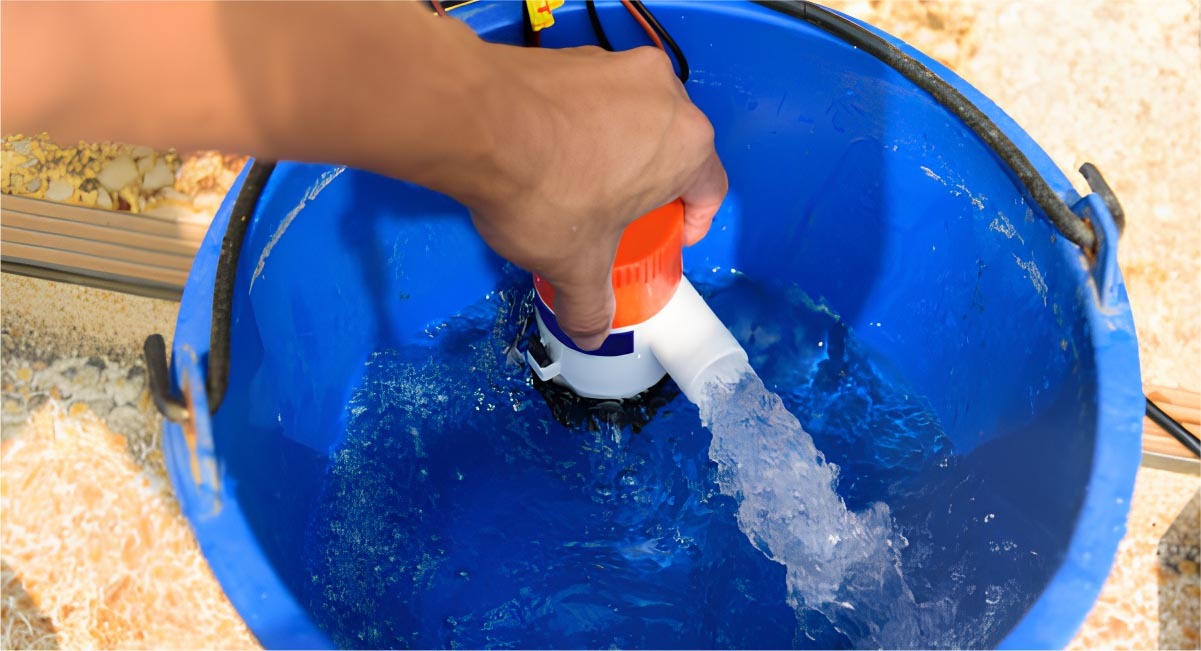
Tip 3: Test Your Pump Monthly
Even if your bilge appears dry, you should still test your pump at least once a month. Testing ensures that both the manual switch and float switch are functioning correctly.
To test the manual switch, simply flip the bilge switch on your console. You should hear the pump activate if it doesn’t, check the circuit breaker, fuse, and wiring.
For the automatic float switch, simulate water entry by pouring a small amount of water into the bilge until the float rises. The pump should kick in automatically. If not, the float switch might be stuck, misaligned, or broken.
- Regular testing helps identify hidden issues like:
- Silent pump failures (burned-out motor)
- Float switches that stick or corrode
- Electrical issues affecting the power supply
Don’t wait for a heavy rainstorm or wave to find out your pump isn’t working. Frequent testing can save your boat and your wallet.
Tip 4: Clean the Bilge and Pump Filter
istock/rukawajung
A tidy bilge keeps things running right. Gunk like oil, dirt, leaves, and trash builds up down there over time, and that mess can block your pump’s intake or filter. It won’t work right, if the pump pushes too hard, the motor can burn out. Then you’re stuck with repairs.
Steps to clean your bilge.
- Disconnect power to the pump for safety.
- Remove large debris by hand.
- Use a bilge cleaner solution and scrub the area.
- Rinse and remove water with a wet/dry vacuum or sponge.
- Clean or replace the intake strainer or filter.
Some pumps have removable filters that can be rinsed with fresh water and reinstalled. Others may need full replacement if brittle or damaged.
A clean bilge also helps you spot leaks or drips from the engine or plumbing system. Cleanliness contributes to better air quality in your cabin and reduces the risk of bacterial growth or unpleasant odors.
Set a reminder to deep clean your bilge every 2–3 months, or more often during active boating seasons.
Learn How to Prevent Corrosion For Outboard Motors
Tip 5: Check Electrical Connections
Electrical reliability is key to bilge pump performance. Marine environments are harsh on wiring, and even the best installations are subject to corrosion, vibration, and moisture intrusion.
Inspect the following aeras
- Wire terminals for corrosion or fraying
- Fuse blocks and inline fuses for corrosion
- Heat shrink connectors to ensure water resistance
- Battery voltage to confirm adequate power
Use marine-grade wire and sealed connectors to avoid common problems. Avoid household electrical parts; these aren’t designed for marine use and can fail quickly.
If your pump suddenly stops working, it’s often an electrical problem, not mechanical failure. Having a multimeter onboard can help diagnose voltage drops or shorts quickly.
Don’t forget to check that the grounding wire is intact and that all connections are secure and out of direct bilge water exposure.
Tip 6: Maintain the Float Switch
The float switch is a vital part of automatic bilge pumps. If it fails, your pump won’t activate even when water is present. Common issues include:
- Debris or oil buildup that causes sticking
- Improper mounting angle that prevents the float from rising
- Waterlogged floats that fail to rise properly
- Worn electrical contacts
To Maintain Your Float Switch
- Rinse it with fresh water monthly
- Test by manually lifting the float
- Ensure nothing blocks its movement
Mount the float switch in an accessible location for easy monitoring and maintenance. If you notice intermittent function, consider upgrading to a sealed, magnetic float switch, which is more reliable over time.
Also Read: How to Find Quality Used Marine Parts Online?
Tip 7: Verify Discharge Hose Condition
istock/vasare
Your bilge pump works hard to remove water, but if the discharge hose is cracked, kinked, or clogged, water won’t exit the boat properly. Inspect the entire length of the hose:
- Check for visible wear or cracks
- Confirm the hose is securely clamped at both ends
- Ensure the discharge point is above the waterline to prevent backflow
- Look for signs of marine growth or blockage at the outlet
Flush the hose with water occasionally to remove sediment buildup. Replace any hose that feels brittle or overly soft, as it may burst under pressure.
Tip 8: Use a Backup Bilge Pump
Even the most reliable bilge pump can fail. That’s why every boat should have a backup pump. Ideally, use one with a separate float switch and power supply, such as a second battery.
Manual hand pumps or portable electric pumps are also useful in emergencies. Mount your backup pump slightly higher than your primary pump to activate only if the first fails or is overwhelmed.
Backups give you peace of mind during storms, high seas, or when docked unattended.
Explore How Your Can Replace Water Pump Of Your Boat?
Tip 9: Keep a Maintenance Log
Staying organized helps you stay afloat, literally. Keep a simple maintenance logbook or digital tracker where you:
- Record inspections and test dates
- Log cleaning sessions and repairs
- Note any replacements or upgrades
- Track pump running hours if applicable
This log helps detect patterns, like a float switch failing every 18 months, and assists in proactive maintenance. It also helps when selling your boat, as it shows potential buyers you’ve taken good care of critical systems.
FAQs
How Often Should I Test My Bilge Pump?
Don’t wait too long to check your bilge pump; test it every month. Before any long trip, make sure it is working right; a quick check can save you from trouble later. It helps you catch things like damage, clogging, or wiring problems. Minor issues can turn big fast, especially when you're out on the water.
How to Test a Bilge Pump?
To test a bilge pump, first activate the float switch manually or add water to the bilge to trigger it automatically. Listen for the pump running fro two seconds and wait fro 4 seconds check if it’s removing water efficiently. Inspect wiring connections and verify that the discharge hose is clear and pumping water out properly.
The Bottom Line
Boats take in water sometimes; that’s why the bilge pump is so important, it helps keep everything safe. When it’s working right, it protects your boat, your peace of mind, and your safety.
Keep the pump in good condition; it’s not hard to do. Just follow these nine simple tips. Know your system, check it often, and it’ll keep things running smoothly for a long time.
Need help choosing the right bilge pump or marine parts? Call us today at 270-618-5200 for expert advice and trusted support.
Posted by Brian Whiteside