The Essential Suzuki Outboard Season Breakout Guide
After months of winter storage, your Suzuki outboard needs more than just a quick start; it needs a proper season breakout to ensure peak performance, reliability, and long-term durability. We have all experienced that there are two different kinds of people at the launch ramp: those who are prepared and those who are not.
You don’t want to be the person to get your family and friends excited for a long-awaited trip, only to disappoint because your engine won’t start up. Every boater needs to prepare their Suzuki outboard engine before the launch. Take time to inspect, clean, and service your outboard before hitting the water. This good practice can prevent costly mid-season repairs.
The expert OBParts guide will walk you through everything you need to safely and efficiently break out your Suzuki outboard motor for the season ahead.
What is Season Breakout for Outboards
A season breakout is the process of bringing your outboard engine out of storage and preparing it for operation after months of inactivity. The process is also known as de-winterization, as it is typically performed after the winter break.
The process is essentially a pre-season inspection and maintenance routine, ensuring that every component, from the fuel system to the propeller, is in working order.
The breakout process is essential for every Suzuki outboard engine:
- It extends the lifespan of your outboard engine and ensures peak performance from your outboard motor.
- It also maintains the warranty of your Suzuki outboard.
- A proper breakout procedure identifies minor issues, preventing them from becoming costly engine failures on the water.
Learn: How Yamaha and Suzuki Outboard Engines Compare
How to Breakout a Suzuki Outboard After a Season Break

iStock/GKV
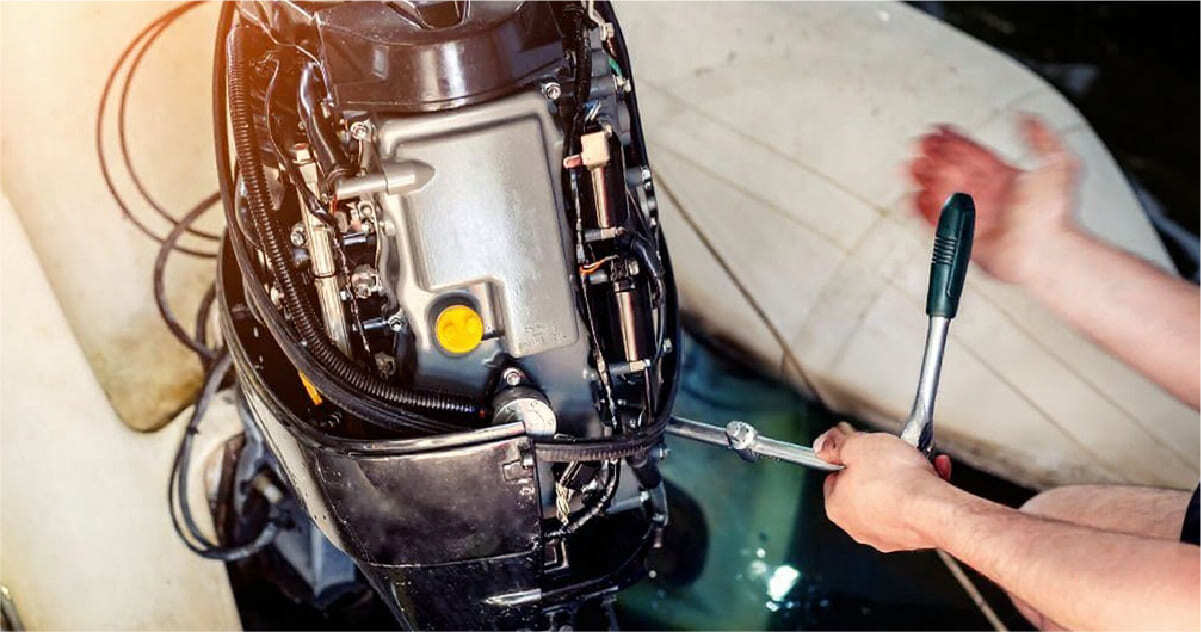
Here is the checklist to break out the Suzuki outboard engine correctly after the season off.
Preparation & Safety Before You Start
Prior to turning the wrench, lock down the engine and your work area. Collect all the tools, Suzuki-recommended parts, and lubricants:
A few typical parts might include:
- Engine oil and filter
- Gearcase lube
- Fuel filter or water separator filter
- Spark plugs
- Water pump impeller kit
- Marine-grade grease and corrosion guard
Finally, ensure that the space is well-ventilated, the engine is securely attached to the transom saver or engine support device, and the power is turned off. Additionally, always have a Suzuki Outboard Owner's Manual on hand.
Pro Tip: OBParts provides OEM-quality Suzuki outboard parts to all Suzuki models, guaranteeing compatibility and dependability.
Walk-Around & Visual Inspection (Hull & Boat Systems)
Walk around your boat before touching the motor to assess damage or issues to its body.
Start by inspecting the hull and transom for dents, stress cracks, or blisters that may have occurred during storage or transport. Always check the stern drain plug, because it is the most frequently overlooked item that can cause a boat to drown. Lastly, check for expiration dates of flares and fire extinguishers; replace them if they have expired.
Make sure to take time to inspect the boat, as minor problems ignored can become significant issues while on the water.
Electrical & Battery Systems
Electrical system failure and battery problems are the leading reasons for startup failure.
- Battery Condition: If the battery is stored outside the boat, reinstall it. Check the voltage (must be 12.6V or more). Charge it if needed.
- Terminal Maintenance: Clean the terminals of the batteries with a wire brush to remove corrosion deposits, and make sure all cable connections are tightly secured.
- Accessory Check: Check navigation lights, bilge pumps, and horn. Check the functioning of the Suzuki outboard's kill switch and lanyard.
Furthermore, replace your battery if it is older than three years.
Fuel System & Lines
Fuel system integrity is crucial, particularly with today's ethanol-blended fuel. Removing the fuel is one of the first steps to winterize an outboard motor, yet many people skip this crucial step. In our experience, stale fuel and corroded hoses are the leading causes of engine problems after a season's downtime.
Prior to beginning the Suzuki outboard:
- Change the fuel-water separator or filter
- Drain out old fuel
- Check the fuel lines for soft areas, cracks, or leaks
- Prime the system with your primer bulb until it is firm
- Fill the tank with new fuel and add a fuel stabilizer to avoid moisture buildup
Fluids: Engine Oil, Gear Lube, Hydraulics
Fluids maintain the engine's internal machinery. Check all fluids before the first startup:
- Engine oil
- Lower unit gear oil
- Tile and trim fluid
- Grease all fittings
Always employ Suzuki OEM lubricants or marine-grade substitutes to keep the warranty intact.
Cooling System / Impeller / Flush
The cooling system is the engine's lifeline, as it wards off overheating and keeps the engine in healthy working order.
- The rubber impeller will degrade in service and storage. It is recommended to replace the impeller annually, independent of engine hours, to prevent overheating.
- Check the air intake vents in the cowling for insect or rodent nests that will impede airflow and lean out the engine.
- Clean the thermostat housing and have it function correctly.
- Install the flushing device or muffs and flush fresh water through the system.
Ignition & Spark Plugs
Correct ignition assures full fuel burn and strong power output.
- Spark Plugs: Spark plugs need to be removed and checked for condition. If the engine is due for a 100-hour service interval or the electrodes are fouled/worn, replace the spark plugs.
- Check Gap: Make sure new spark plugs are properly gapped to factory specs.
- Wiring: Check plug wires and coils for cracks or wear.
Healthy plugs result in quicker starts, improved fuel economy, and smoother idle.
Propeller, Lower Unit & Drive System
The propeller converts the Suzuki outboard's horsepower into motion. A good propeller is essential for balanced performance, and damage will result in increased vibration and reduced unit wear.
- Remove the prop and inspect it for bends and dings.
- Grease the shaft and replace it with a new cotter pin.
- Check the skeg, gear housing, and trim-tilt assembly for corrosion.
- Inspect the mounting bolts and steering linkages for the correct torque.
Mounts & Structural Checks
The engine’s mounting system is often overlooked, but it’s essential for vibration control and safety.
- Inspect engine mounts and transom bolts for signs of wear, rust, or looseness.
- Ensure the mounting bracket is free from cracks or corrosion.
- Torque all bolts to Suzuki’s factory specifications.
- Check steering linkage and pivot points for play or misalignment.
A secure mounting system provides smooth operation, less vibration, and avoids transom fatigue, particularly in high-output Suzuki series models.
Commissioning and Test Running
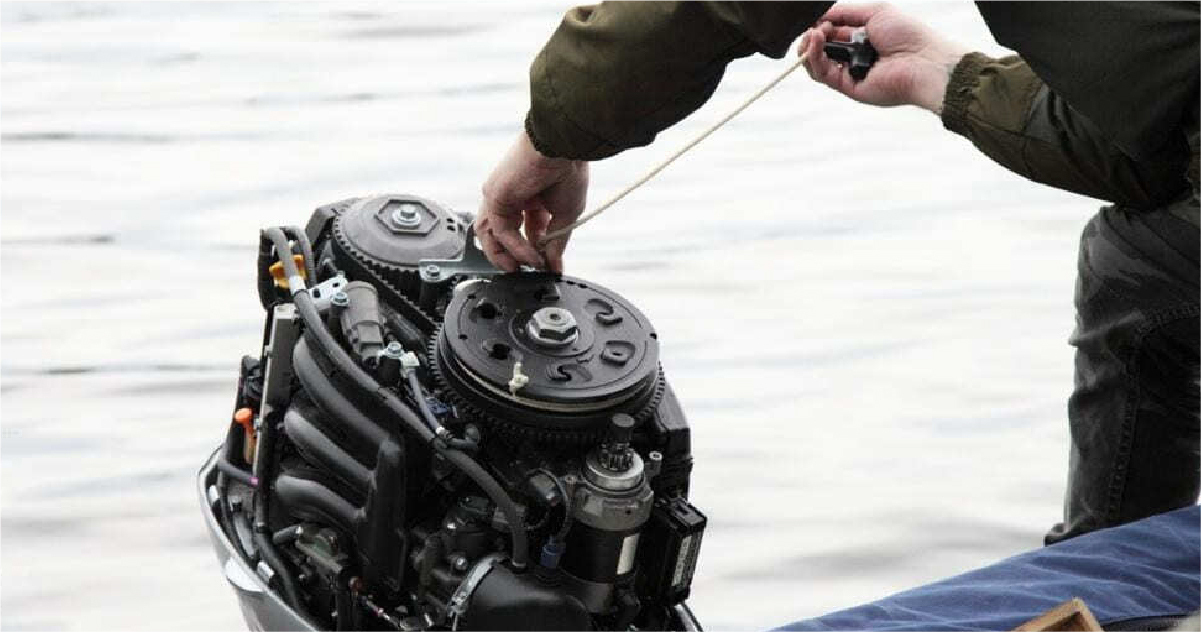
After all the pieces are assembled and fluids are topped up, it's time to revitalize your Suzuki outboard. Several steps need to be taken to ensure correct operation and a smooth startup.
- Reconnect the battery and ensure correct polarity.
- Connect a garden hose or employ a flush muff to provide water to the cooling system.
- Start and allow the engine to idle for a few minutes.
- Monitor oil pressure, temperature, and water flow from the telltale.
- Look for leaks, unwanted noise, or vibration.
- Check shifting from forward to reverse gear, or vice versa, to confirm the gear mechanism shifts smoothly and the control cables function properly.
After a 10–15-minute run, turn off the engine and double-check all fluid levels. These tests guarantee your outboard is in working order before taking it out onto the water.
Quick Checklist to Properly Maintain the Suzuki Outboard Engine
|
Task |
What to Look For |
Recommended Action |
|
Visual Inspection & Prep |
Corrosion, cracked hoses, loose bolts |
Wash the exterior, check for rust, and tighten all fittings before starting. |
|
Fuel System Check |
Old fuel, clogged filters, cracked fuel lines |
Drain stale fuel, replace filters, and inspect the primer bulb and connections. |
|
Oil & Lubrication |
Low oil, milky, or dark fluids |
Change the engine oil and filter, then refill with Suzuki 4-stroke or 2-stroke engine oil. |
|
Lower Unit & Drive System |
Gear oil contamination, seal leaks |
Drain and replace gear lube; inspect prop shaft seals and drain plug gaskets. |
|
Propeller Inspection |
Chips, dents, fishing line, hub wear |
Remove and inspect the prop; clean the shaft and replace any damaged parts. |
|
Cooling System & Water Pump |
Blocked inlets, weak telltale, and impeller wear |
Flush cooling passages and replace the water pump impeller if needed. |
|
Battery & Electrical Connections |
Corrosion, weak battery, loose grounds |
Clean terminals, check voltage (12.6V+), and apply dielectric grease. |
|
Mounts & Structural Checks |
Cracked brackets, loose mounts, corrosion |
Inspect engine mounts, transom bolts, and steering system alignment. |
|
Commissioning & Test Running |
Rough idle, smoke, no water flow |
Start the engine with flush mufflers; check the water stream, idle smoothness, and throttle response. |
|
Final Adjustments & Record |
Maintenance intervals, part replacements |
Log the date, oil type, and any parts changed, and set reminders for the next service. |
Common Problems You May Find After a Season's Break

AdobeStock/Ilya
Even after a careful breakout, marine engines may pose problems. These are the most frequent problems that you might find when taking the first test run. Here's how you can diagnose and fix them.
1. No Water Flow (Impeller / Blockage)
Symptoms: No water or a slow trickle through the telltale hole, overheat alarm, or exhaust steam.
Probable Causes:
- Clogged intake screen or obstruction of water inlets
- A worn or broken impeller in the water pump
- Kinked or loose water hose within the lower unit
Fix: Shut off the engine right away. Drain the system with a garden hose or use a muff flush to remove gunk. If water does not flow yet, replace the impeller and check the water pump housing. Only use OEM Suzuki impeller kits for a proper fit and to work properly.
2. Engine Overheating
Symptoms: High temp alarm, engine throttling down, or loss of power.
Possible Causes:
- Constricted cooling water flow
- Stuck closed thermostat
- Blocked exhaust passages
- Low engine oil or dirty lubricant
Fix: Immediately shut down the engine and allow it to cool. Inspect for telltale flow, clean intake screens, and check water pump function. If the issue still persists, check and replace the thermostat and impeller. Fill engine oil with NMMA-Certified Suzuki 4-stroke oil before resuming operation.
3. Fuel Delivery or Vapor Lock
Symptoms: Stalling, hard starting, or hesitation at elevated RPMs
Probable Causes:
- Air leakage or blockage of the fuel line
- Dirty fuel separator or water filter
- Old or ethanol-mixed fuel separating in the tank
- Heated-up fuel lines are causing vapor lock
Fix: Replace fuel separators and filters, and check the primer bulb for proper functioning. Drain old gasoline and fill with fresh, stabilized marine gasoline. Use a high-quality fuel stabilizer to avoid phase separation on storage.
Pro Tip: Store extra fuel filters and fuel stabilizer in your garage.
4. Electrical / Ground Faults
Symptoms: Engine will not crank, erratic ignition, or accessories flash
Probable Causes:
- Loose battery terminal or corroded contacts
- Blown fuse or tripped circuit breaker
- Ignition switch corrosion or a faulty ground wire
- Wiring harness or connector damage
Fix: Clean and tighten all battery and ground connections. Replace damaged terminals and corroded fuses. Apply dielectric grease to all connections to prevent moisture intrusion. If electrical issues persist, inspect the Suzuki Diagnostic System Mobile Plus (SDSM+) or consult a qualified marine electrician.
5. Propeller Cavitation / Vibration Problems
Symptoms: Unusual vibration, slipping during acceleration, or loss of thrust
Probable Causes:
- Bent or chipped propeller blades
- Fishing line wrapped around the prop shaft
- Cracked hub inserts or improper propeller size
- Worn thrust washer or loose prop nut
Fix: Take out the propeller and look for damage or obstruction. Replace damaged props or hubs to avoid gearbox damage. Re-grease the propeller shaft always and tighten it with a fresh cotter pin when reassembling.
Conclusion
A thorough season break ensures your Suzuki outboard performs flawlessly after a season’s break. By inspecting key systems, replacing worn parts, and following Suzuki’s break-in and maintenance procedures, you’ll extend engine life, prevent costly failures, and enjoy trouble-free boating all season long.
In addition to following proper breakout procedure, it is essential to choose genuine Suzuki outboard parts or OEM-quality aftermarket parts to ensure a perfect fit and maintain factory performance standards.
Now that all the work is done, it’s time to plan a fishing trip with friends and family.
Posted by Brian Whiteside


