How to Winterize a 2-Stroke Outboard Motor (DIY Guide)
Winterizing a 2-stroke outboard motor isn't the hardest thing you have to do this off-season. With each extra degree of effort you put in, the better your motor will be when you take it out of storage. While 4-stroke engines are protected by an independent oil built into the engine, 2-stroke engines are propelled by an oil/gas mixture with special features in the lubrication and combustion process that are weakened by the cold.
Without proper winterization, residual moisture, fuel breakdown, and internal corrosion can cause damage to engine components such as the carburetor, pistons, and gear case, resulting in expensive repairs and shortened engine life.
This guide outlines a systematic and mechanical approach to winterizing a 2-stroke outboard, explaining what needs to be done. Have a look!
Why You Should Winterize Your 2-Stroke Outboard Motor

GettyImages/PortlandPressHerald
Winterizing your outboard motor isn't simply another maintenance task. It is a necessary action that preserves the engine's health and ensures it performs well for the next season. The actions you take during the winterization process will prevent damage from potential freezing temperatures when the engine is not in use.
- This process will prevent moisture buildup, particularly inside the motor. If the temperature fluctuates, so does the temperature inside the motor. This means that condensation may occur, and it can cause corrosion of the motor's interior as well. Therefore, winterization effectively reduces concerns about moisture and damage from corrosion.
- Winterizing assures performance. A properly winterized engine, when maintained, will be easier to start after a long, cold winter, so you can enjoy the outdoors when spring arrives.
- Winterization will save you money. The cost of winterizing a 2-stroke outboard is much less than repairing or replacing parts damaged from the harsh winter conditions.
Essential Tools and Materials Required for Two-Stroke Outboard Winterization
It’s essential to gather all the necessary materials, before starting the winterization process. You will need a few key items to ensure your motor’s fuel system, spark plugs, and internal components are protected through the cold months.
- Flushing muffs or freshwater supply
- Fuel stabilizer
- Fogging oil
- Marine gearcase lubricant
- Spark plug socket/wrench
- Drain pan
- Grease gun and marine grease
- Battery charger and indoor storage area
- Engine cover or tarp
Now that you have all your materials ready, let’s move on to the step-by-step process of winterizing your 2-stroke outboard motor.
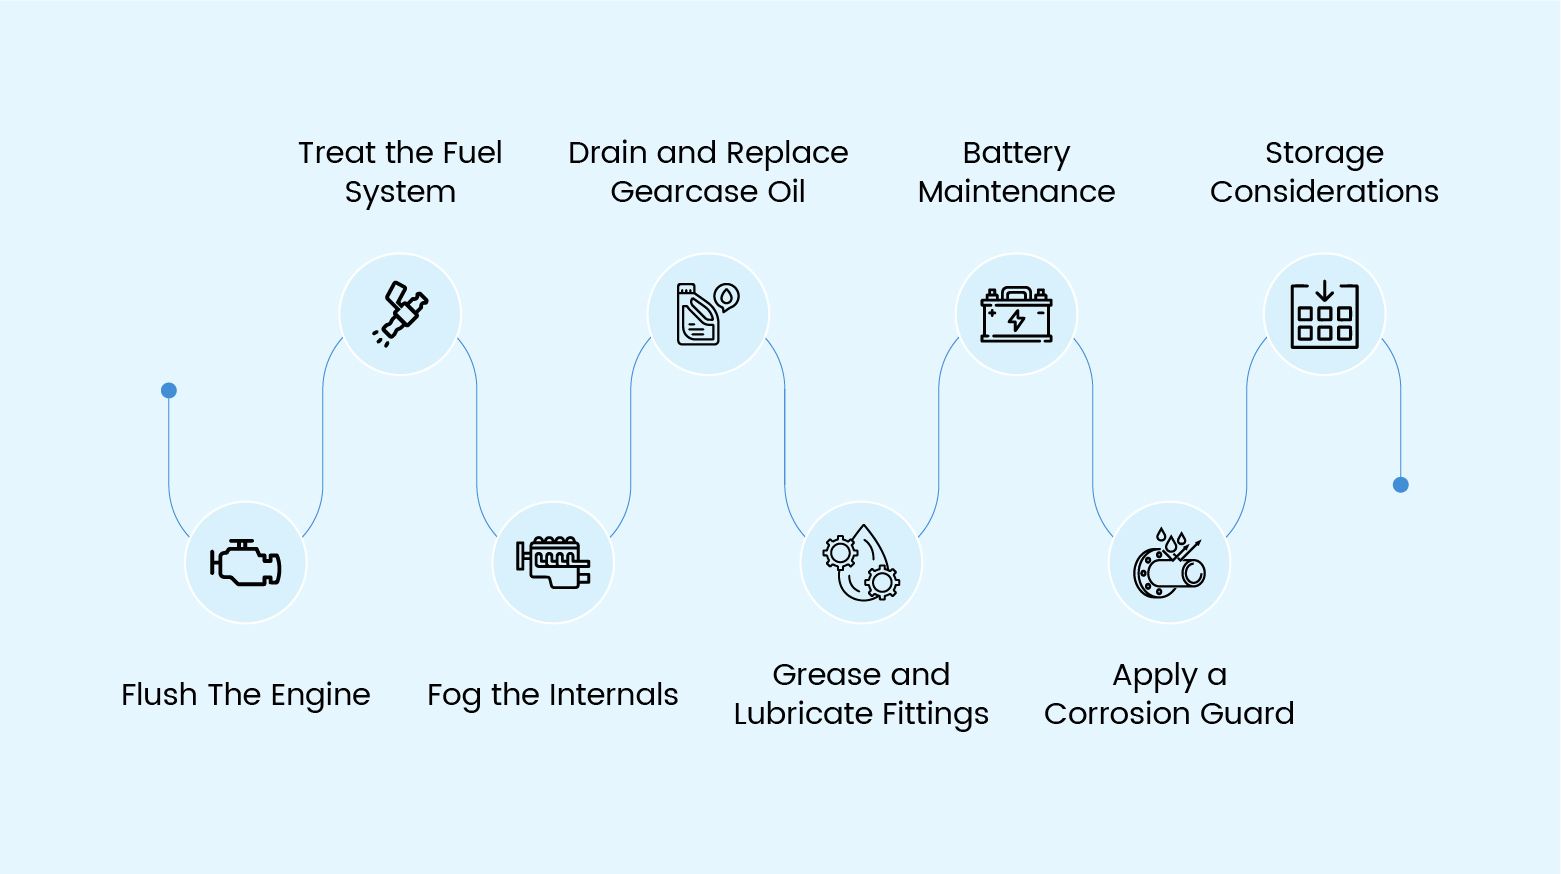
8 Steps to Winterize Your 2-Stroke Outboard Motor
Winterizing an outboard motor is generally a straightforward process if you follow these simple steps.

1. Flush the Engine
The first step is to flush the engine.
Attach the flushing muffs to your lower unit’s water intake or use the built-in flush port to connect to the water intake ports on the lower end of the unit and connect it to a hose.
Turn the water on and start the engine. Run the engine for 10-15 minutes to flush out salt, sand, and debris. This step prevents salt buildup and internal corrosion.
2. Treat the Fuel System
The next step is to stabilize the fuel system, as it is the most critical component to address. Untreated fuel can degrade, causing gum and varnish deposits that clog fuel lines and carburetors.
- Follow the manufacturer’s instructions for your chosen marine fuel stabilizer. Add the correct amount directly to your boat’s fuel tank. Usually, 1 oz stabilizer treats 10 gallons of fuel, so use the stabilizer accordingly.
- With the stabilizer added, run the engine again for at least 10-15 minutes. This ensures the stabilized fuel reaches the carburetor, fuel lines, and injectors, protecting them from degradation.
- After running the stabilized fuel, it is highly recommended to drain the carburetor bowl. This removes any remaining fuel that could evaporate and leave deposits.
This step is especially important for 2-stroke motors, which use an oil and gasoline mixture. Fuel system treatment prevents fuel separation and gumming.
3. Fog the Internals
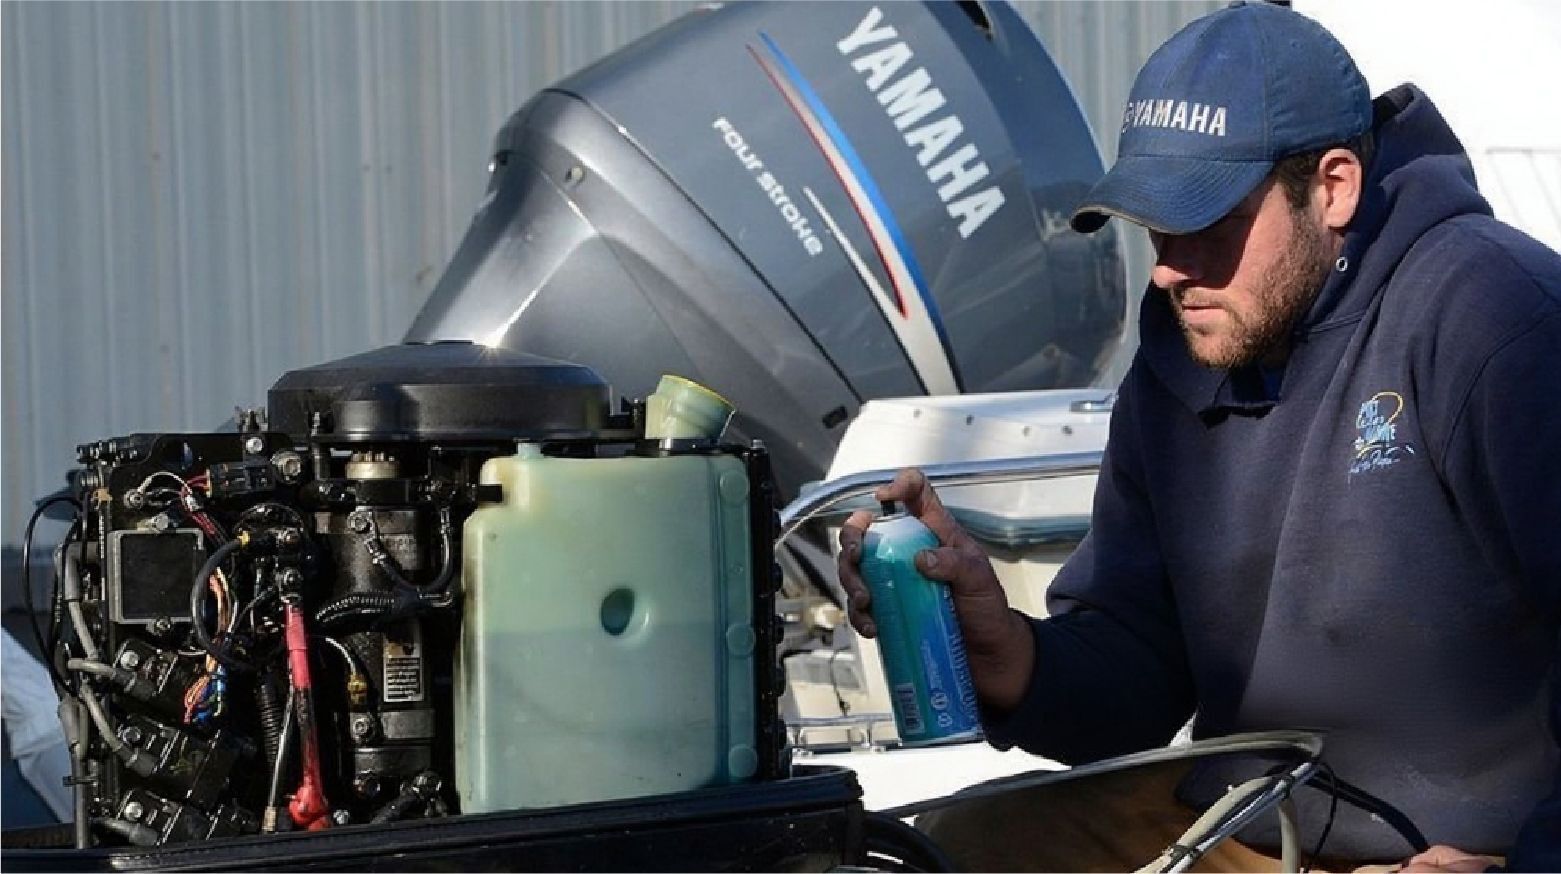
Fogging oil protects the internal components from rust and corrosion. It is a critical step in preserving the internal surfaces of the 2-stroke outboard.
Start by Fogging the Engine:
- The process begins by removing the engine covers and locating the carburetor’s air intake port.
- With the engine running, spray a small amount of fogging oil into the intake (the engine will want to die, but keep it running by opening the throttle).
- Continue to fog the engine until it dies
Now it’s time to fog the combustion chamber.
- Pull the boots off the spark plugs and unscrew them.
- Put some fogging oil inside the chamber, and if the spark plug contacts are corroded, put in a new plug. If not, you can use the old ones. Apply a light coat of anti-seize before reinserting the plug to prevent damage to the threads for next season's use.
- Then, before replacing the spark plugs and boots, pull the starter cord a few times to coat the piston and cylinder with fogging oil.
Pro Tip: If white smoke comes out of the exhaust, you are doing it right.
4. Drain and Replace Gearcase Oil
Water can seep into the gearcase through a damaged seal or worn gaskets. Dirty gearcase oil can freeze and crack the housing.
- Remove the lower drain plug and upper vent plug from the lower unit.
- Let the gear oil drain into a pan, then inspect the oil. Milky oil indicates water contamination, and the presence of metal shavings indicates gear damage.
-
“Now it’s time to add the new marine-grade gear oil. Attach one end of the pump and thread it into the lower drain port. Pump the new oil into the lower end until oil starts to come out of the upper drain port.
Tip: Always replace both gaskets/O-Rings when reinstalling the plugs to ensure a tight seal.
5. Grease and Lubricate Fittings
Now it’s time to use a grease gun to apply marine grease to all fittings and friction points, including:
- Steering pivot
- Tilt tube
- Propeller shaft
- Linkages
Also, remove the propeller to check for fishing line or debris wrapped around the shaft, which can damage seals. This protects them from rust and ensures they move smoothly when you start the motor again in the spring.
We recommend using marine-grade grease to prevent it from breaking down in the water. Once it’s greased, it’s time to prepare the battery.
6. Battery Maintenance
The battery isn’t part of the outboard, but it still needs to go through charging and discharging cycles to remain healthy. A battery that’s left idle for months will deteriorate to the point it can’t be charged again.
Remove the battery from the boat, clean the terminals, and apply a thin layer of dielectric grease to them.
Attach a battery tender to the battery and leave it on a level surface. The battery will maintain its power level for months, ensuring it remains in peak health when you are ready to take your outboard out of storage.
7. Apply a Corrosion Guard
Lastly, apply a corrosion guard to all external metal surfaces of the motor, especially unpainted or inherently corrosion-resistant parts. This includes linkage, screws, and under the cowling.
Stay cautious around electrical components and anodes.
8. Storage Considerations
Moisture and temperature swings are your motor’s worst enemies in winter, and ventilation and protection are key.
- The outboard must be stored in a vertical position. If the motor is being stored on the boat, make sure it's cocked down so that any remaining water can drain. If you're taking out the motor, store it vertically on an engine stand.
- Cover the 2-stroke outboard motor with a breathable, waterproof cover. The cover will protect the motor from dust, dirt, and moisture.
- Place the motor in a dry and protected area, preferably a garage or shed, out of direct sunlight and severe temperature changes.
In short, store the motor in a dry, secure location, and periodically check and start it.
Common Winterization Mistakes to Avoid
Winterizing a two-stroke engine is not the same as a 4-stroke outboard. Avoid making some of the following mistakes that will undermine its performance and lifespan.
One of the most common mistakes boaters and anglers make is ignoring the use of a fuel stabilizer. Without a stabilizer, the fuel will break down and foul the carburetor during storage, eventually clogging the fuel system and requiring expensive repairs the following season. Ensure you use the correct amount of stabilizer and then start the engine to distribute it evenly throughout the system.
Another common mistake is not draining water properly from the engine. Water remaining in the cooling system will freeze, expand, and potentially damage or shatter essential components. Saltwater will even begin to corrode the inner metal components. Double-check that all the water is pushed out by flushing the system using clean fresh water.
Boaters often overlook the importance of engine and gearcase oil changes. An oil change keeps the essential parts lubricated and protected from rust; it also removes moisture and contaminants that may be hiding in the oil chamber. Before storing the 2-stroke outboard motor, drain the old oil completely and replace it with fresh oil suited to your motor’s specifications.
Apart from these mistakes, sometimes boaters even forget to winterize their 2-stroke engines before winter. You might remember it later and panic, thinking it's too late. Don’t worryyou still have time to protect your engine from serious damage. Read our detailed guide on midwinter outboard winterization.
FAQs
Can I skip fogging if I use a fuel stabilizer?
No, you cannot skip fogging; these are two different processes with different purposes. Fogging protects internal engine parts from corrosion, while a fuel stabilizer prevents damage to the fuel system.
How long does the process take?
The winterization of a 2-stroke outboard motor takes 1-2 hours with the right tools and products in hand. A DIY winterization can take over 2 hours.
Should I remove the propeller for winter?
While optional, it’s recommended removing it as it allows you to inspect the shaft, clean off debris, and prevent theft.
Conclusion
2-stroke outboard winterization is a vital practice for any boat owner. It’s an investment in the longevity and efficiency of your marine equipment. Our step-by-step guide will equip you with the rationale behind each action, making the process manageable and easy.
Dedicate a few hours to this maintenance process, and your engine will be protected from the harsh effects of winter while saving you money on potential repairs. Moreover, it ensures a smooth, trouble-free start to your boating season.
Explore OBParts’ wide selection of outboard engine parts, including OEM and premium aftermarket parts designed specifically for 2-stroke outboards.
Posted by Brian Whiteside


